
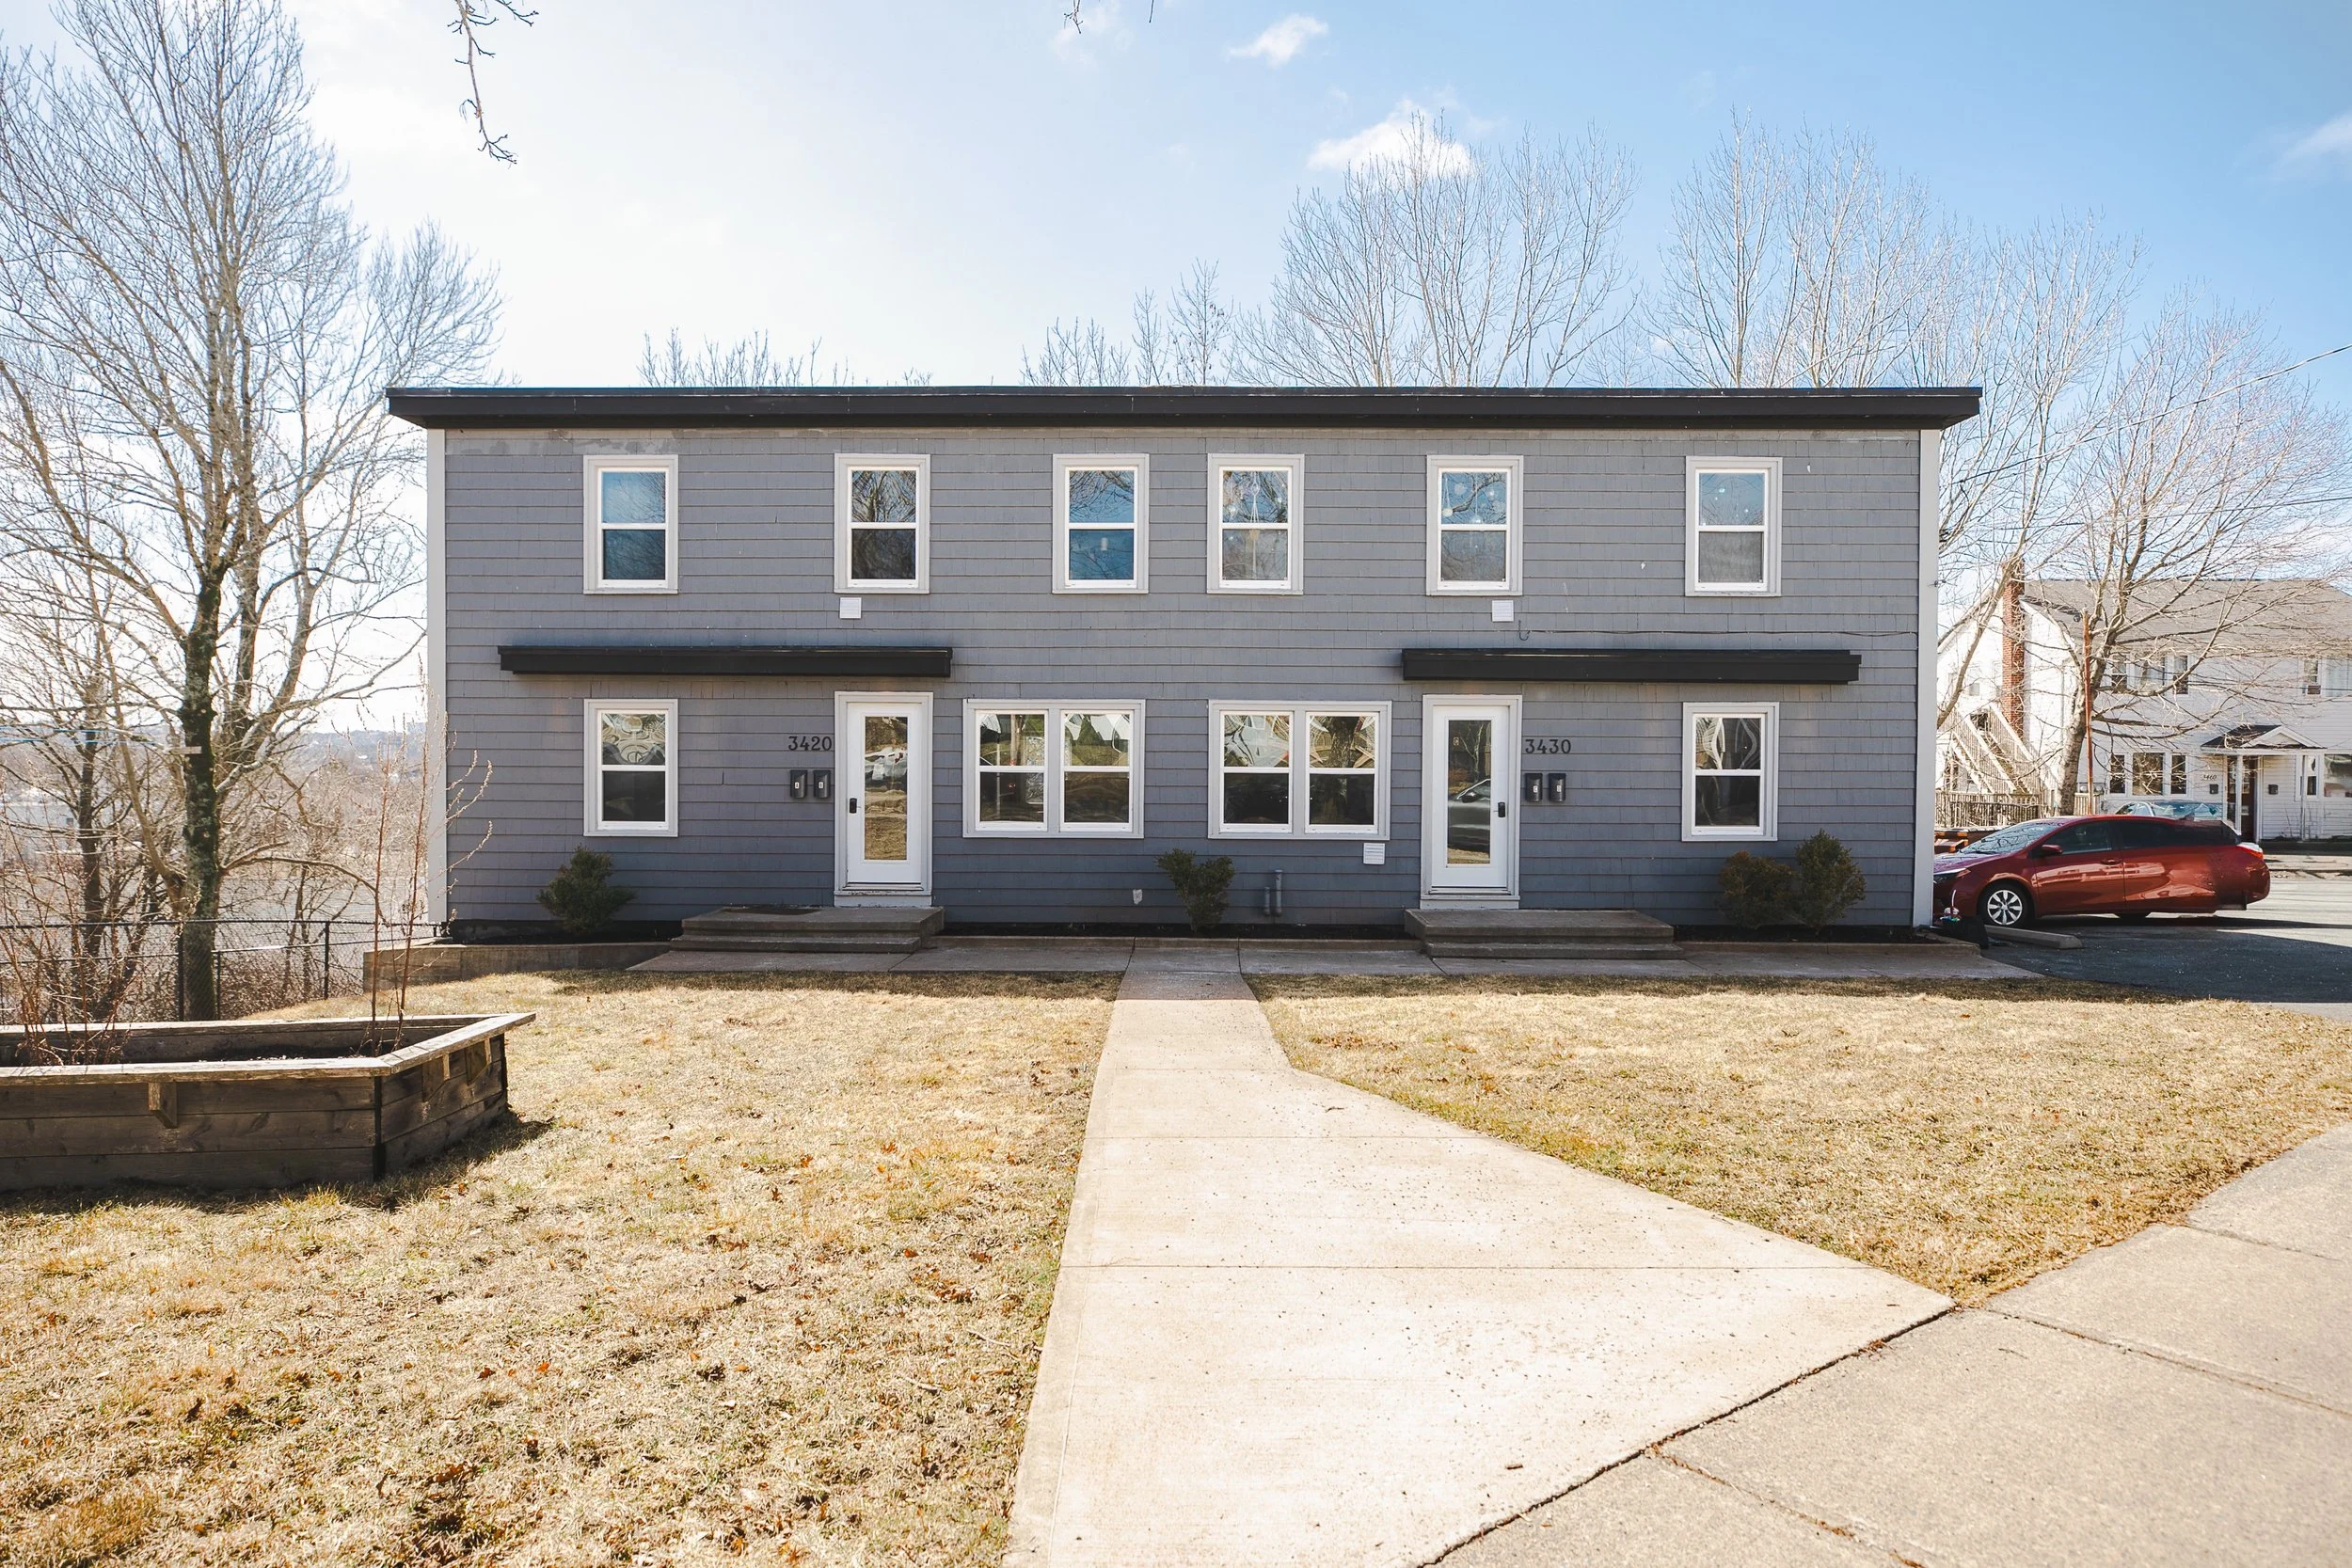
Understanding ROI on Rental Properties

Introduction
If you’re thinking about investing in real estate, there’s one number you need to understand before anything else: ROI, or Return on Investment.

ROI is how investors measure whether a rental property is worth it. It’s the difference between making a smart investment—and buying a money pit. But don’t worry—you don’t need to be a math wizard to figure it out. Let’s break it down.

What Is ROI in Real Estate?

ROI (Return on Investment) measures how much money you earn from a property compared to how much you put into it.

Here’s the basic formula:

ROI = (Annual Return / Total Investment) × 100

So if you made $6,000 a year in net income from a property and you invested $30,000 total, your ROI would be:

(6,000 / 30,000) × 100 = 20% ROI

That means you’re earning 20% of your original investment back each year. Not bad!

Step-by-Step: How to Calculate ROI on a Rental Property

Let’s break it into three simple steps.

1. Know Your Income

Start with your gross rental income (total rent collected annually).

Then subtract expenses to find your net income:

  • Mortgage payments

  • Property taxes

  • Insurance

  • Maintenance

  • Property management fees (if any)

  • Vacancy rate (estimate 5–10% loss per year)

➡️ Net Income = Gross Rent – Expenses

2. Add Up Your Investment

This includes:

  • Down payment

  • Closing costs

  • Renovations or repairs

  • Any other upfront expenses

➡️ Total Investment = All upfront costs to acquire and prepare the property

3. Plug It Into the Formula

Now use the ROI formula:

ROI = (Net Annual Income / Total Investment) × 100

The result gives you a percentage—your annual return on every dollar you invested.

What’s a “Good” ROI?

This varies by market and risk level, but here’s a general rule of thumb:

  • 8–12% ROI – Solid for most long-term rental properties

  • 12%+ ROI – Very strong return (often found in emerging markets or value-add deals)

  • 6–8% ROI – Acceptable in high-demand areas with long-term appreciation potential

Keep in mind: ROI isn’t the only factor. You should also consider property appreciation, tax benefits, and long-term equity growth.

Pro Tips to Maximize Your ROI

✅ Buy Below Market Value – Look for off-market deals or fixer-uppers
✅ Minimize Vacancies – Keep tenants happy and units filled
✅ Raise Rents Strategically – Don’t undervalue your property
✅ Watch for Hidden Costs – Budget for capital expenses (roof, HVAC, etc.)

Final Thoughts

Understanding ROI is the key to making confident, profitable real estate decisions. Whether you're analyzing your first rental or scaling your portfolio, ROI helps you stay focused on what really matters—your bottom line.

As a real estate professional, I can help you:

  • Run ROI numbers on properties in our local market

  • Identify high-performing investment opportunities

  • Avoid costly rookie mistakes

Interested in learning more or purchasing a rental property ?

✨ Let’s connect:
📧 dexter@dexterwilkie.com
📞 902.314.9686
🌐 dexterwilkie.royallepage.ca

You only get one first impression —
Let’s make it unforgettable.

- Dexter

Investing in Real Estate (Even If You’re New to It)

Introduction
You’ve probably heard the phrase: “Real estate is the best investment you can make.” And while that’s largely true, getting started can feel overwhelming. Whether you’re a first-time investor or a homeowner thinking about buying a second property, the right plan can turn bricks and mortar into long-term wealth.

Here’s a straightforward guide on how to dip your toe into real estate investing—without drowning in confusion.

1. Understand Your Investment Goals

Start by asking yourself: What do I want from this investment?

Are you looking for:

  • Monthly cash flow from rental income?

  • Long-term appreciation as property values rise?

  • Tax benefits and write-offs?

  • Or maybe all three?

Your goals will shape the type of property you choose and the strategy you follow—so define them early.

2. Explore Different Investment Types

There’s more than one way to invest in real estate. A few beginner-friendly options include:

  • Single-Family Rentals (SFRs): Easiest entry point. Low management, strong resale market.

  • Multi-Family Homes (Duplexes, Triplexes): Higher income potential, but more management involved.

  • House Hacking: Live in one unit and rent out the others to cover your mortgage.

  • REITs (Real Estate Investment Trusts): Invest in property portfolios without owning physical property—great for passive investors.

Pro tip: Work with an agent (like me!) who understands investment math, not just curb appeal.

3. Run the Numbers—Always

Emotion has no place in investing—only math does. Learn to calculate:

  • Cash-on-Cash Return (how much profit you earn from the cash you put in)

  • Cap Rate (your return if you bought the property outright)

  • Rental Demand (is the property in a desirable location with stable tenants?)

Don’t just guess—get real data. I help clients break down these numbers every day to make smart, strategic moves.

4. Secure Financing Like a Pro

Getting a mortgage for an investment property is different than buying a primary residence. Expect:

  • Higher interest rates

  • A larger down payment (typically 15–25%)

  • Stricter approval requirements

Tip: Shop around with lenders who specialize in investor loans. A solid pre-approval is your ticket to making strong offers.

5. Build Your Team Early

Real estate investing isn’t a solo sport. Build a team that includes:

  • A realtor who knows investment properties

  • A lender who understands your financial goals

  • A contractor for quick repairs or renovations

  • A property manager (optional, but great if you don’t want hands-on involvement)

With the right support, you’ll make better decisions—and fewer costly mistakes.

Final Thoughts

Starting your real estate investment journey might seem daunting, but it’s completely doable—with the right guidance. I've helped dozens of clients turn their first property into a profitable investment, and I’d love to help you too.

Want to start investing but not sure where to begin?
Let’s schedule a free consultation. I’ll walk you through your options, run the numbers, and help you take your first step toward financial freedom.

✨ Let’s connect:
📧 dexter@dexterwilkie.com
📞 902.314.9686
🌐 dexterwilkie.royallepage.ca

You only get one first impression —
Let’s make it unforgettable.

- Dexter

🛠️ How to Negotiate Repairs After a Home Inspection

How to Negotiate Repairs After a Home Inspection: A Buyer’s Guide to Protecting Your Investment

Home inspections are a critical step in the buying process—they can reveal hidden issues that may affect the value, safety, or livability of the property. Once the inspection report is in, it’s time to negotiate repairs with the seller. This stage can be sensitive, but it’s also an opportunity to protect your investment and ensure you're making a sound decision.

Here’s how to approach the repair negotiation process like a pro:

Step 1: Review the Inspection Report Thoroughly

Not every item flagged in a home inspection needs to be addressed. Focus on:

  • Major structural issues (foundation cracks, roof problems)

  • Safety concerns (electrical hazards, mold, radon, lead paint)

  • Plumbing, HVAC, or appliance malfunctions

  • Active leaks or signs of water damage

Cosmetic issues or minor wear and tear are often considered part of buying a pre-owned home.

Step 2: Prioritize Your Requests

You don't want to overwhelm the seller with a laundry list of small requests. Instead, prioritize:

  • Deal-breakers: Major defects that make the home unsafe or unlivable.

  • High-cost items: Repairs that could significantly impact your budget post-closing.

  • Code violations or unpermitted work that may require correction.

Being realistic and focused helps make negotiations smoother and more productive.

Step 3: Know Your Options for Negotiation

Once you've decided what to request, there are typically three ways to move forward:

  1. Ask the Seller to Make Repairs Before Closing
    Ideal for straightforward fixes. Make sure all work is done by licensed professionals and receipts are provided.

  2. Request a Price Reduction or Credit at Closing
    This gives you control over how and when the repairs are done. A credit can also help cover temporary fixes until full repairs are made.

  3. Negotiate a Combination of Both
    For example, the seller repairs the roof, but you get a credit for updating the HVAC system.

Step 4: Be Professional and Strategic in Your Approach

  • Use your agent: A skilled real estate agent will guide you through the process and communicate your concerns effectively to the seller's side.

  • Be respectful: Sellers can get defensive—present your requests based on facts, not emotions.

  • Provide estimates: Supporting your request with repair quotes or contractor estimates adds credibility and clarity.

Step 5: Prepare for Pushback or Counteroffers

Sellers are not obligated to fix everything. They may:

  • Agree to some repairs but not all

  • Offer a smaller credit than requested

  • Refuse to negotiate, especially in a hot market

You’ll need to evaluate your comfort level with the response. In some cases, walking away may be the best option if the repairs are too extensive and the seller won’t budge.

Final Thoughts

Negotiating repairs after a home inspection doesn’t have to be confrontational—it’s about reaching a fair agreement that reflects the true condition of the home. With the right mindset, good advice from your agent, and a focus on the big-picture issues, you can navigate this phase with confidence and protect your investment for years to come.

✨ Let’s connect:
📧 dexter@dexterwilkie.com
📞 902.314.9686
🌐 dexterwilkie.royallepage.ca

You only get one first impression —
Let’s make it unforgettable.

- Dexter

📝 What to Look for During an Open House

Attending an open house is an exciting part of the home-buying journey. It gives you a chance to walk through the property, picture yourself living there, and see if it aligns with your needs and expectations. But beyond admiring the staging or imagining your furniture in the living room, it’s also an opportunity to dig deeper and assess the home’s true condition and fit.

Here’s what to pay attention to during an open house to make a well-informed decision:

1. First Impressions Matter—but Don’t Be Fooled

Curb appeal is important, but don’t let fresh flowers or a stylish front porch distract you from looking closer. Note the condition of the roof, siding, driveway, and landscaping. Once inside, pay attention to how the home feels: is it bright, clean, and well-maintained—or are there signs of patch jobs and quick fixes?

2. Check for Signs of Water Damage or Structural Issues

Look closely at ceilings, walls, and floors for any signs of:

  • Water stains or discoloration

  • Cracks in drywall or foundation

  • Buckling or uneven flooring These can indicate hidden problems like roof leaks, plumbing issues, or settling foundations—all of which can be costly to repair.

3. Evaluate the Layout and Flow

Does the floor plan make sense for your lifestyle? Think beyond square footage and consider:

  • Is the kitchen accessible to the dining or living areas?

  • Are bedrooms placed appropriately for your needs (e.g., distance from each other)?

  • Is there enough storage space? Remember: layout changes can be expensive and, in some cases, limited by the home’s structure.

4. Listen, Smell, and Feel

Use all your senses during an open house:

  • Listen: Is it noisy inside the home due to traffic, neighbors, or nearby businesses?

  • Smell: Musty odors can indicate mold or mildew; heavy scents may be masking something.

  • Feel: Are certain rooms unusually cold or warm? This could point to insulation or HVAC issues.

5. Inspect Windows, Doors, and Appliances

Open and close a few windows and doors—do they stick or close properly? Check the age and condition of major appliances and systems:

  • HVAC unit

  • Water heater

  • Washer/dryer (if included)

  • Kitchen appliances Older or inefficient systems could lead to higher energy costs or require replacement soon after moving in.

6. Ask the Right Questions

Don’t be shy about asking the listing agent or host:

  • How long has the home been on the market?

  • Have there been any recent repairs or renovations?

  • Are there any known issues or past inspections?

  • What’s included in the sale (appliances, light fixtures, etc.)?

7. Observe the Neighborhood

Step outside and take a walk around. Consider:

  • Proximity to schools, shops, and transportation

  • Street traffic and parking availability

  • Condition of neighboring homes

  • General noise level and vibe of the area

This can give you a clearer sense of whether the neighborhood suits your daily life and long-term plans.

Final Thoughts

An open house is more than a casual walkthrough—it’s your chance to assess the property with a critical eye. Come prepared, take notes, and don’t be afraid to revisit a home you’re seriously considering. With the right approach, you'll be better equipped to find a home that not only looks great but stands the test of time.


✨ Let’s connect:
📧 dexter@dexterwilkie.com
📞 902.314.9686
🌐 dexterwilkie.royallepage.ca

You only get one first impression —
Let’s make it unforgettable.

- Dexter